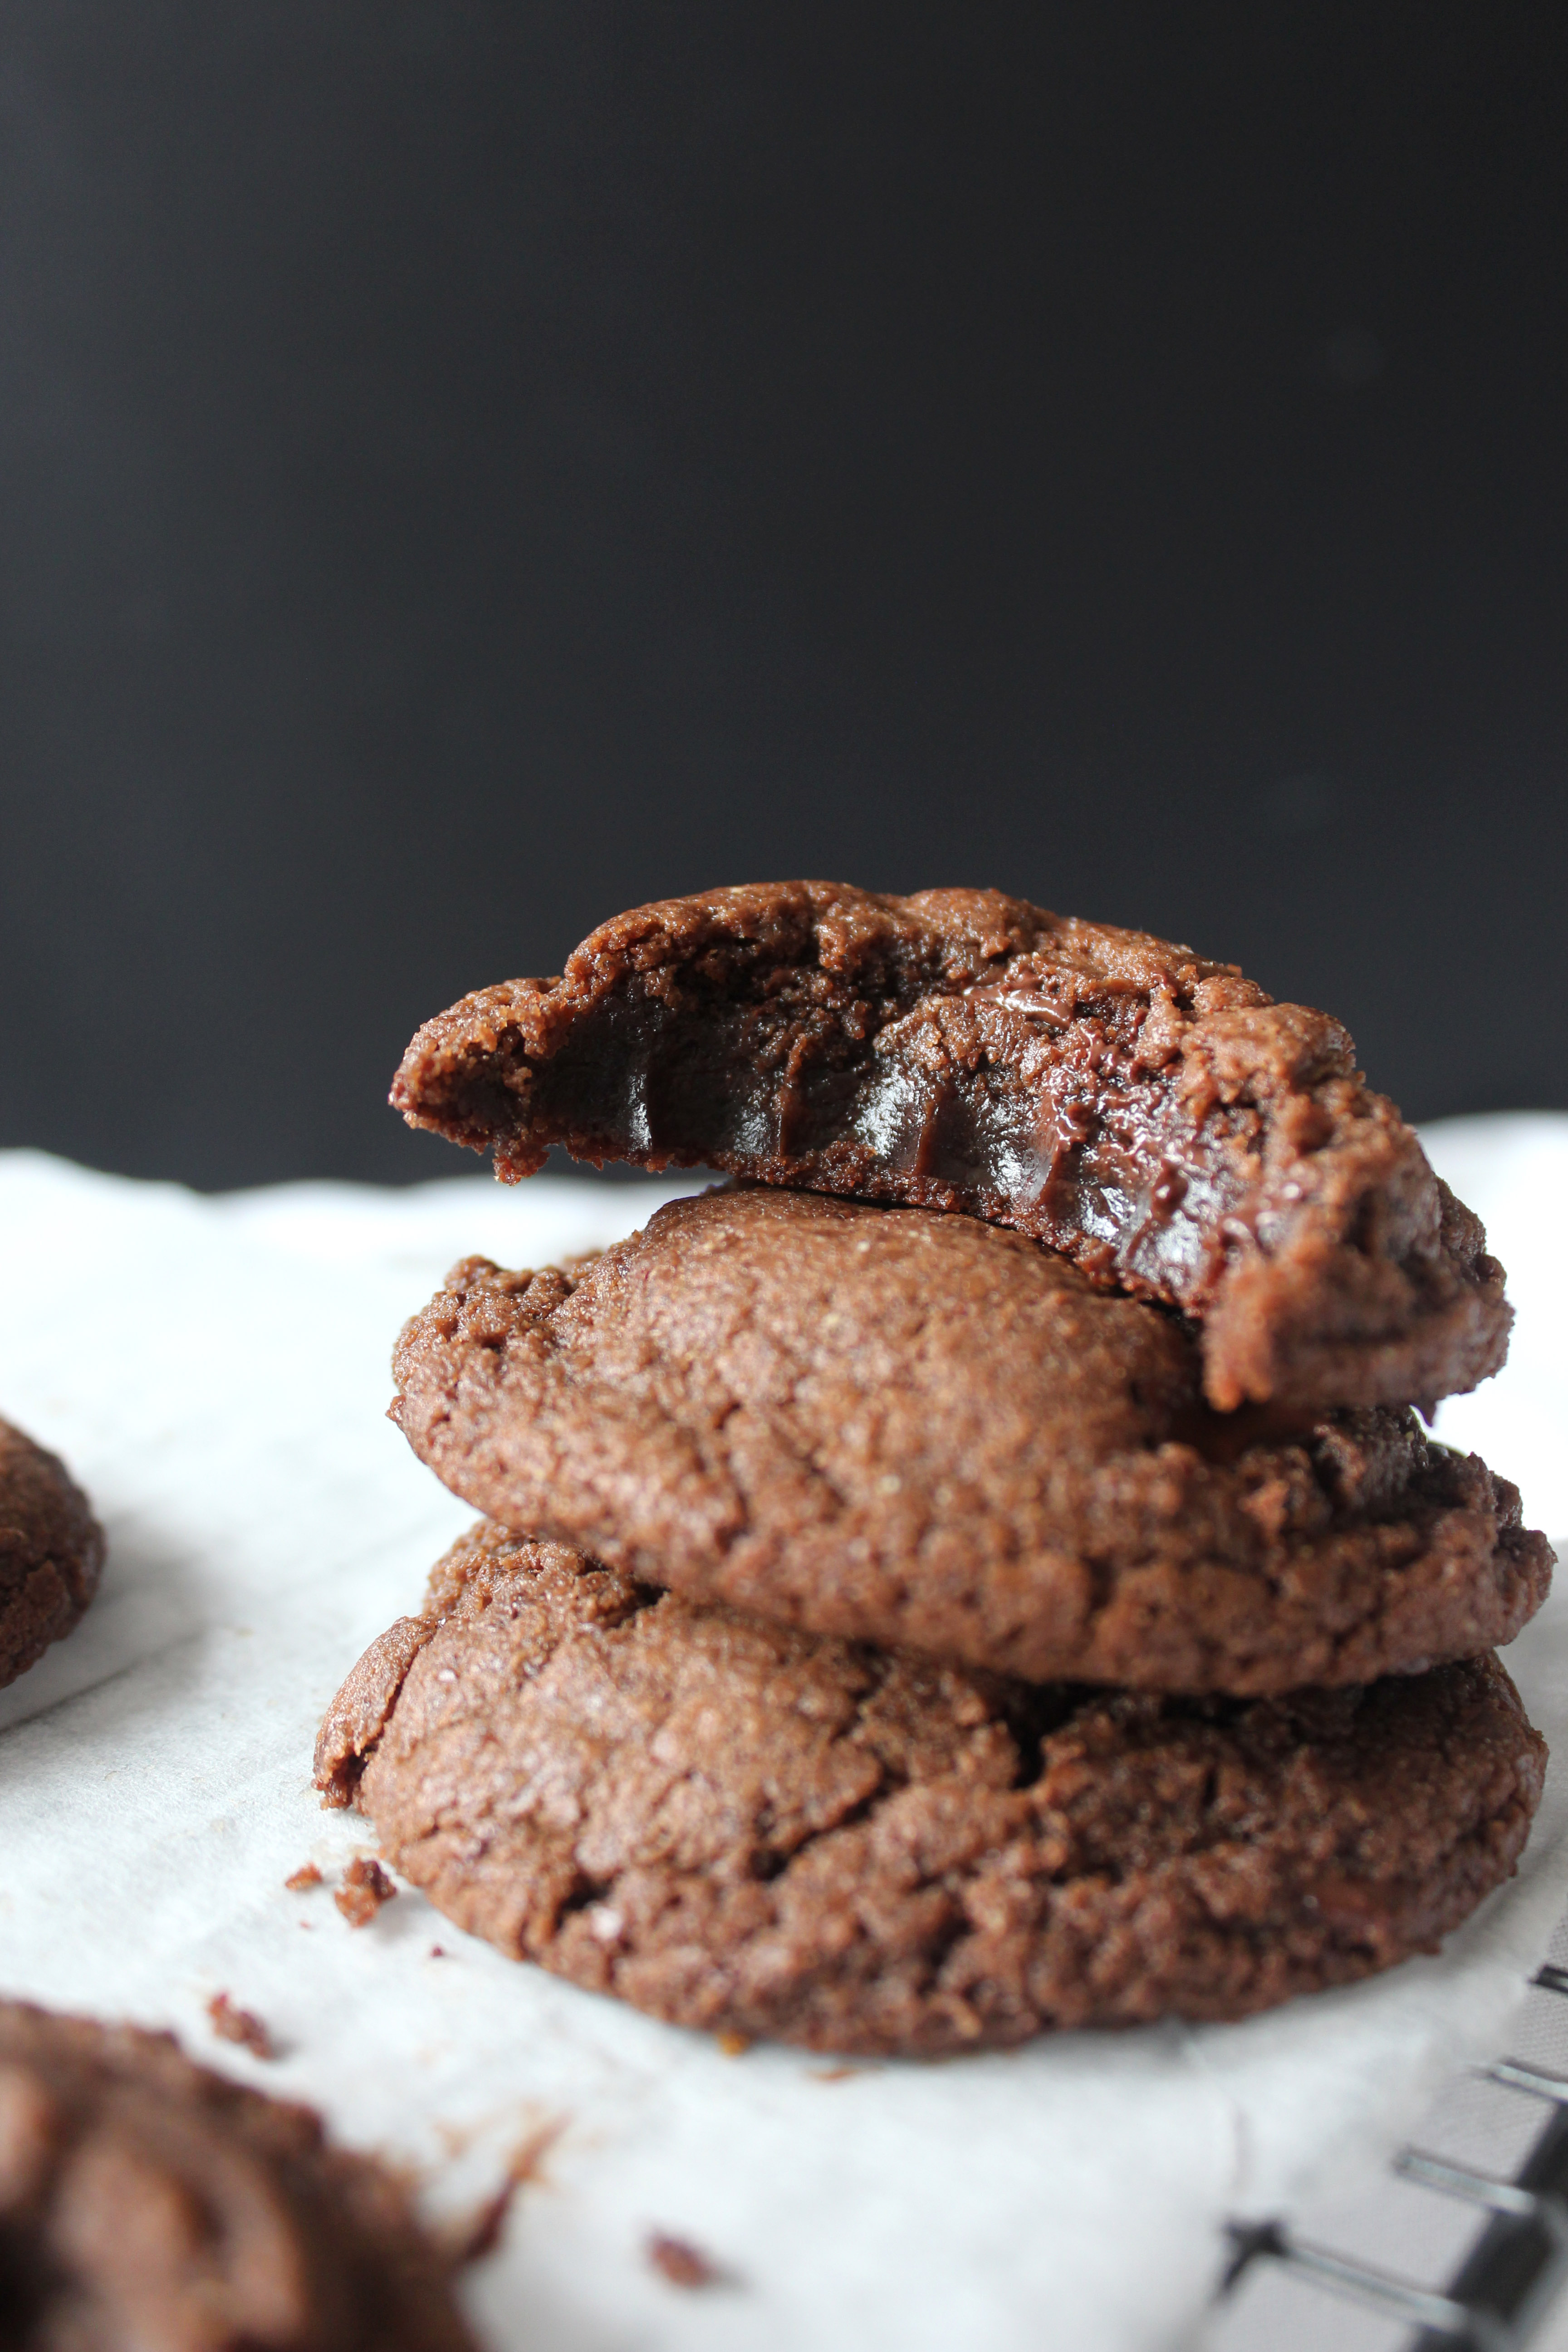
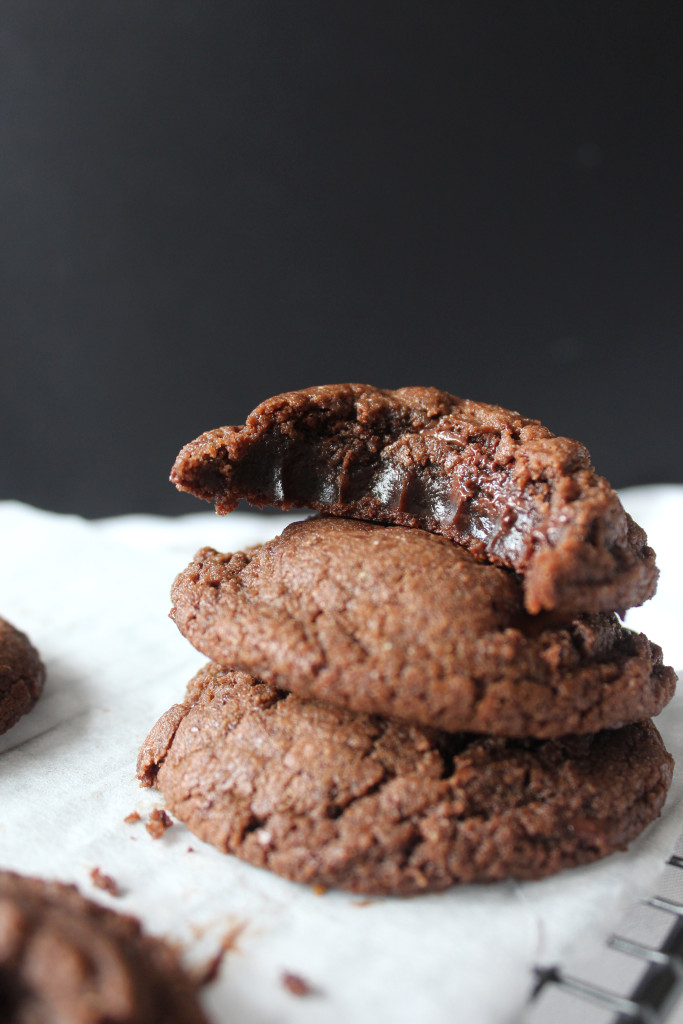
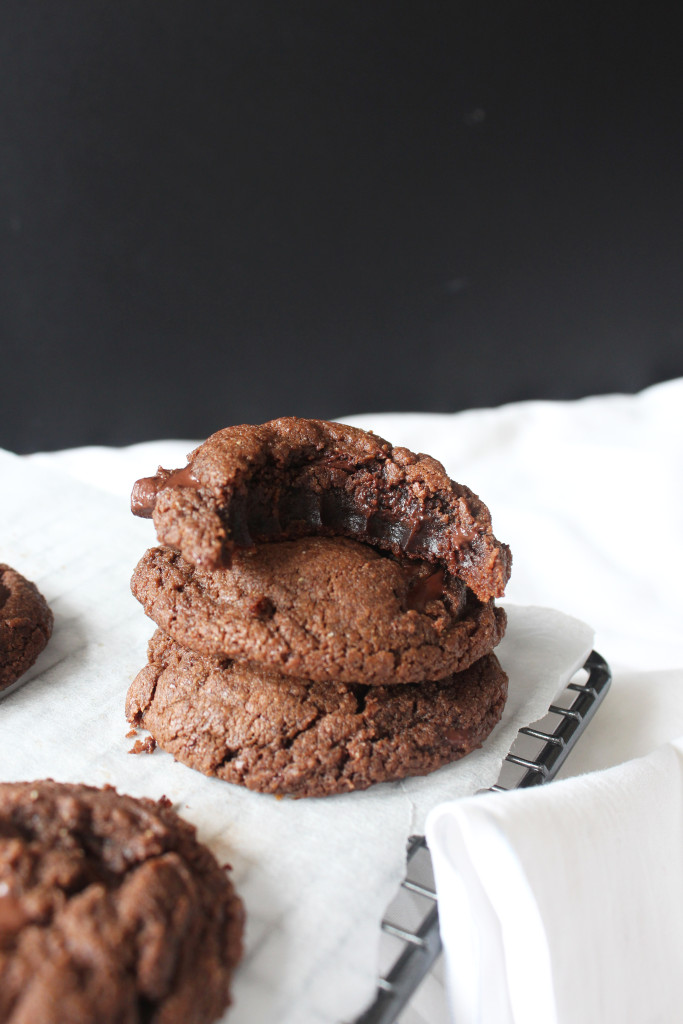
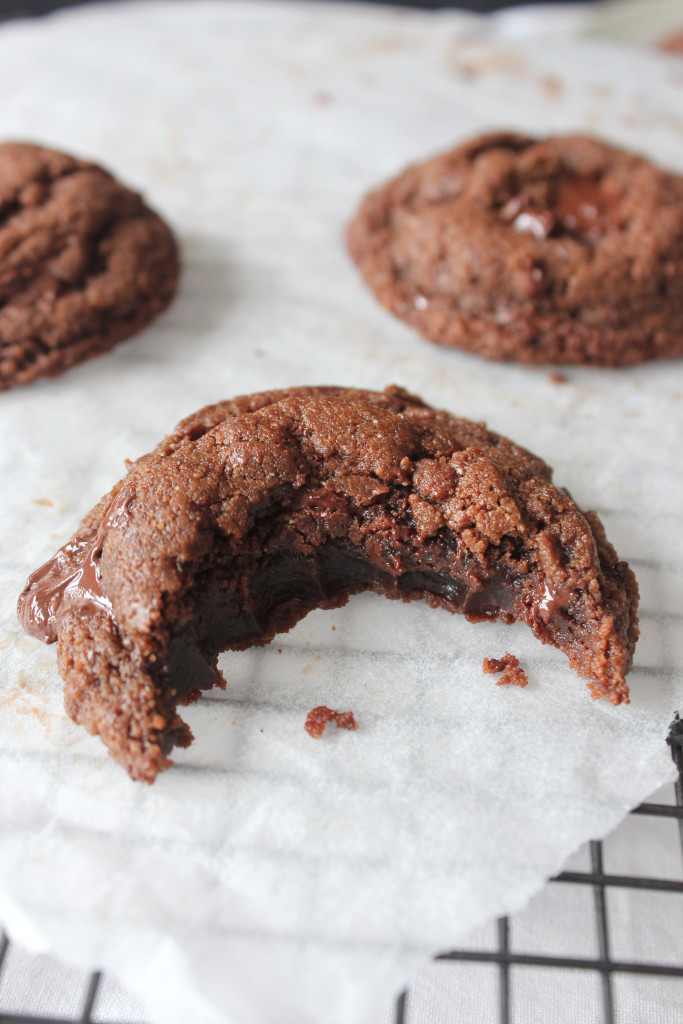
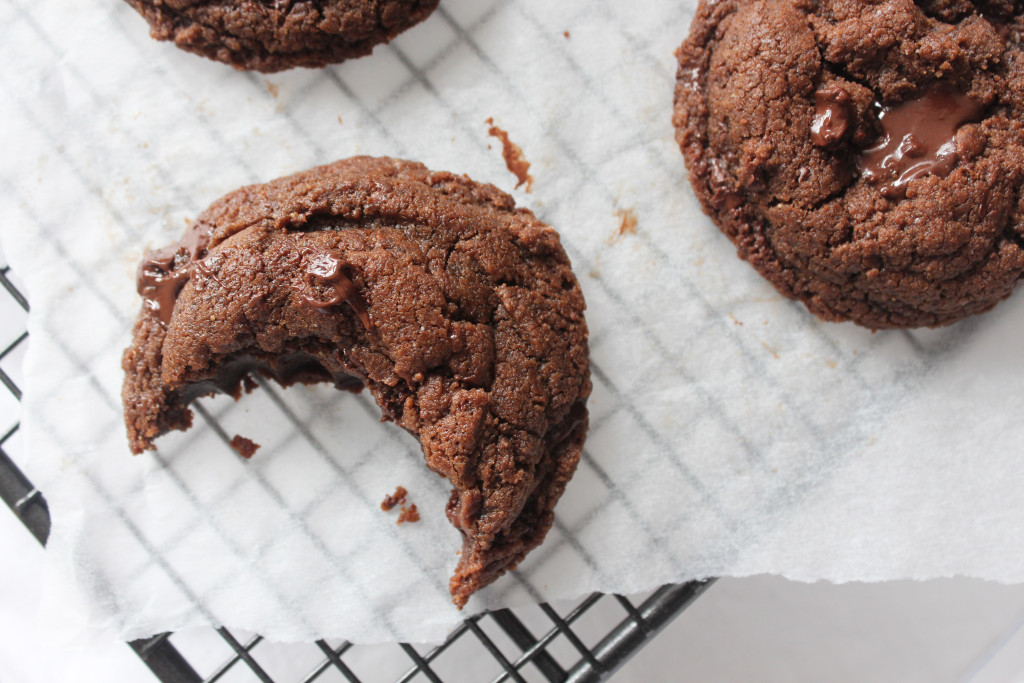
When I looked at the picture of these cookies, I feel in love, yes fell in love with a cookie, yes I’m crazy. They were too tempting and I couldn’t resist and just had to make them. I really like images of melted chocolate it grabs my attention straight away.
These cookies should come with a high calorie warning it does contain a high nutella and peanut butter content! definitely not to be eaten when on a diet! but it’s fine once in a while, well that’s what I say to myself when I’m indulging.
The great thing about these cookies, apart from them having a fudgy, chocolate and peanut butter flavour are they are quick and easy to make.
The original recipe called for a lot more chocolate chips that I didn’t include as I didn’t have enough at home and also I thought there would be enough chocolate from the nutella, however as these contained peanut butter I found the taste of peanut butter did take over the taste of nutella but according Averie Cooks (recipe) the taste of Nutella comes out more with a subtle taste of peanut butter hmmm…maybe you should try them and give your opinion!
- 1 large - egg
- 3/4 cup - Nutella
- 1/4 cup - creamy peanut butter
- 1/2 cup - dark brown sugar, packed
- 1 tablespoon - vanilla extract
- 1/2 cup - plain flour
- 1 tsp - baking soda
- pinch salt
- 100g (or more) dark chocolate, chopped
- 1. In a stand mixer fitted with the paddle attachment add the egg, nutella, peanut butter, brown sugar, vanilla, and beat on high power to cream ingredients for about 5 minutes. Stop the machine and scrape down the sides of the bowl as necessary. The dough will go from very granular, gritty, and loose to smooth, oily, and well-formed in a large mound. If your dough has not come together or is at all gritty, continue to mix until it smooths out.
- 2. Then add the flour, baking soda, optional salt and beat to incorporate. Dough will not look like normal cookie dough and will be tiny balls and flakes that seem almost feathery in the bowl. This is okay. Add the chocolate chunks and beat momentarily to incorporate.
- Using a medium cookie scoop (about 2 tablespoons) or your hands, scoop out 15 mounds of dough and place them on a large plate. Using your hands, gently squeeze and compact each mound so that it's tightly packed together. Dough will be both crumbly and oily, but when squeezed, it should stay together. Cover plate with plasticwrap and refrigerate dough for at least 2 hours, up to 5 days, before baking.
- Preheat oven to 350F, line 2 baking sheets with Silpat Non-Stick Baking Mats
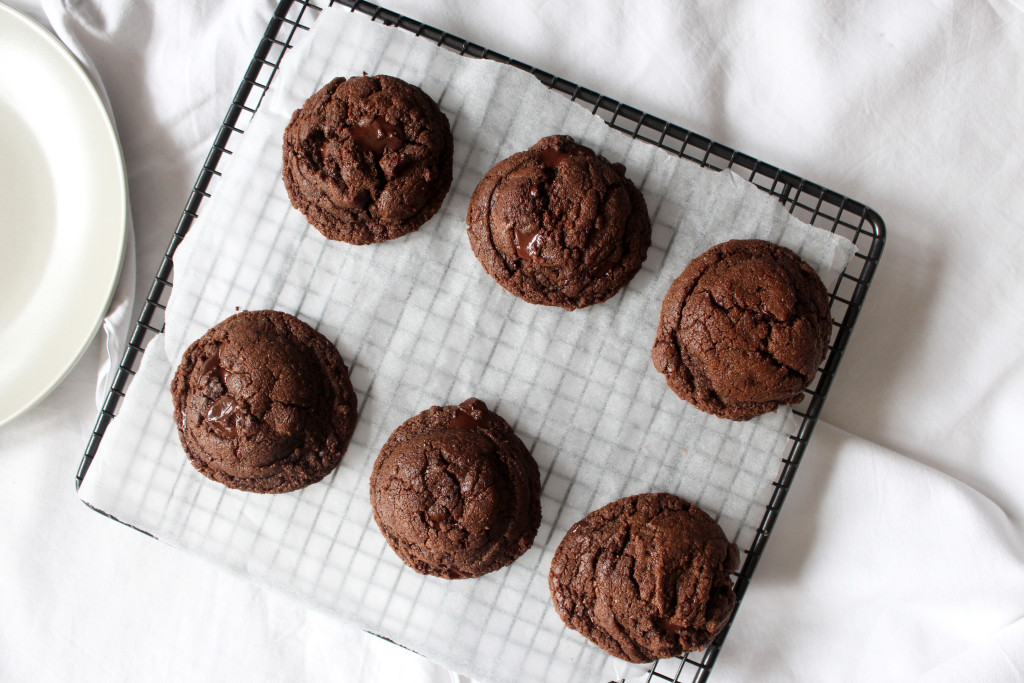
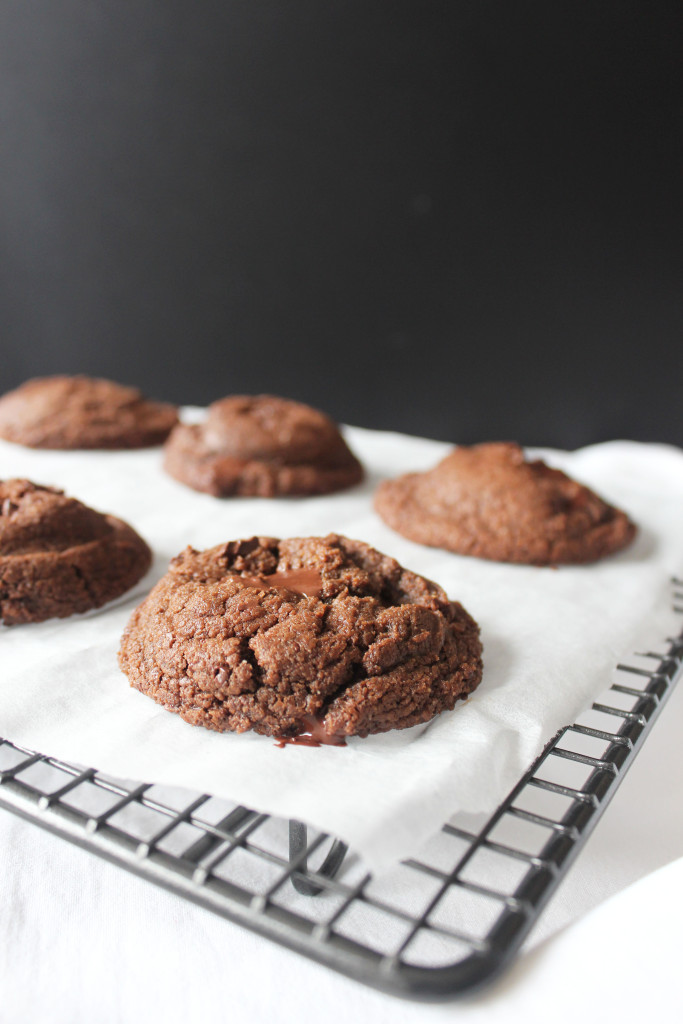
- parchment, or spray with cooking spray; set aside. Space dough 2 inches apart (8 per tray) and bake for 9 to 10 minutes, or until top have just set, even if slightly underbaked in the center. It's difficult to discern if they're done or not because they're dark, but watch them very closely and don't overbake. Cookies firm up as they cool, and baking too long will result in cookies that set up too crisp and hard (The cookies shown in the photos were baked for 9 minutes, with trays rotated at the 5-minute mark, and have chewy edges with pillowy, soft centers).
- Allow cookies to cool on the baking sheet for about 10 minutes before removing and transferring to a rack to finish cooling. Store cookies in an airtight container at room temperature for up to 1 week, or in the freezer for up to 3 months. Alternatively, unbaked cookie dough can be stored in an airtight container in the refrigerator for up to 5 days, so consider baking only as many cookies as desired and save the remaining dough to be baked in the future when desired.