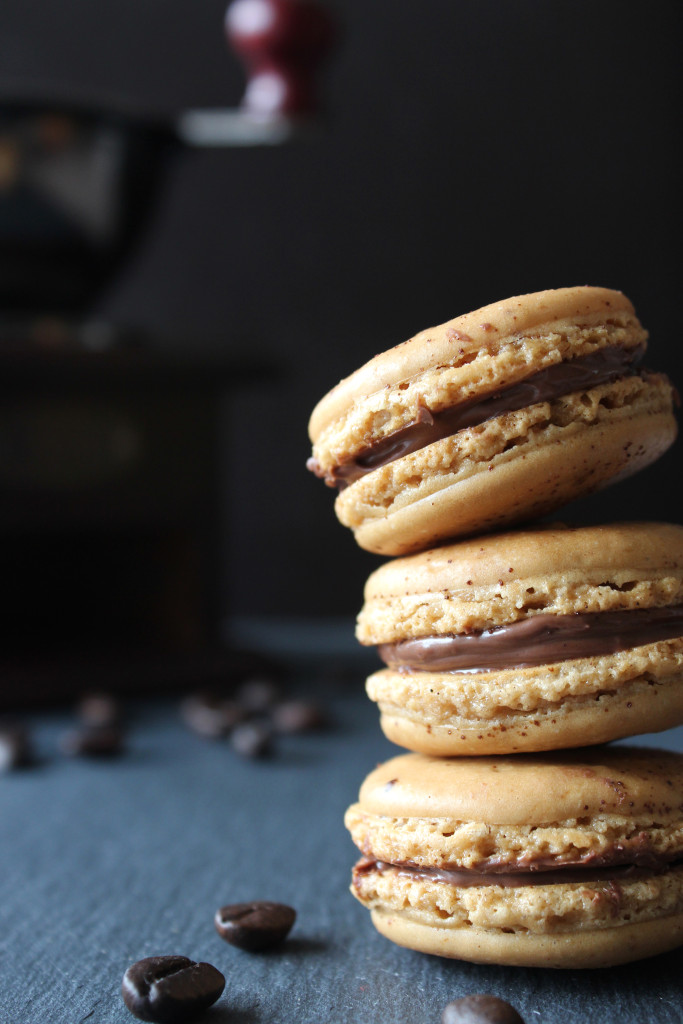
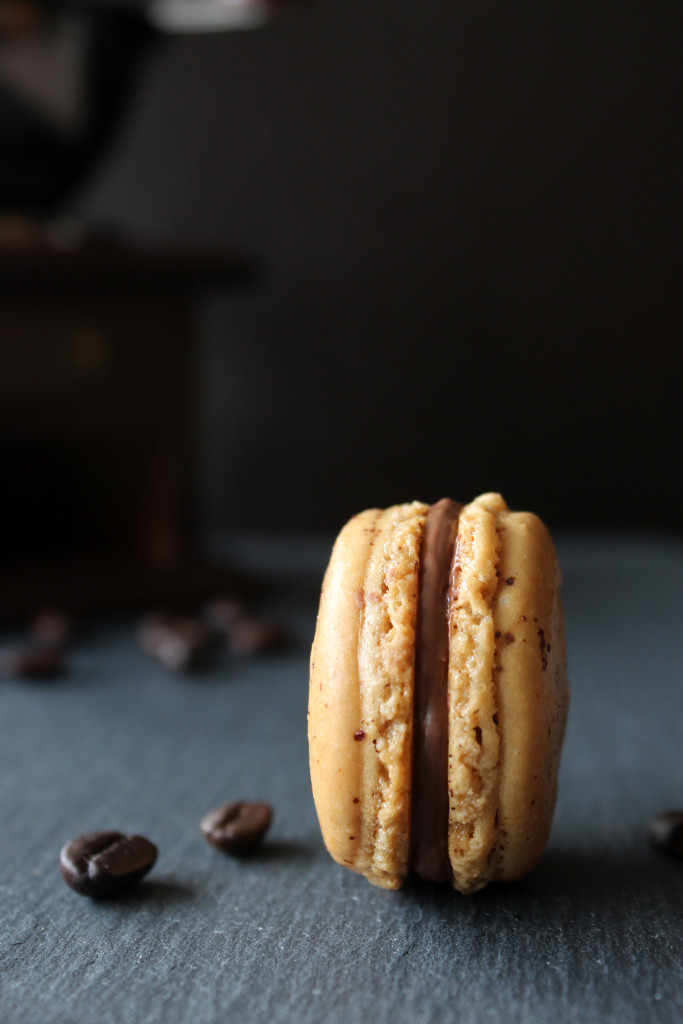
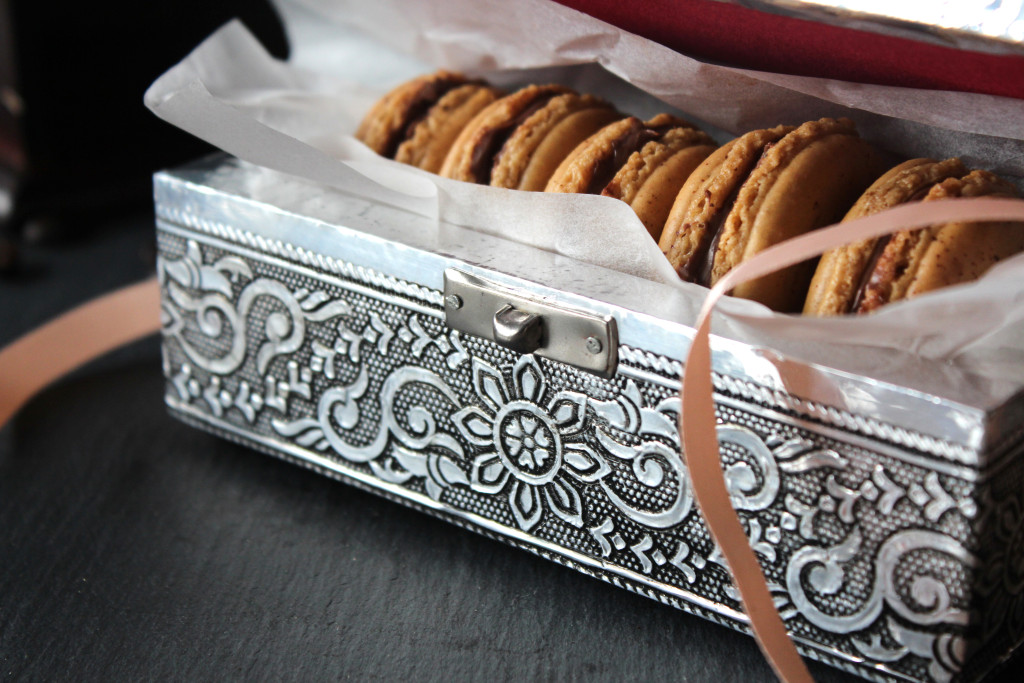
So Macarons…not Macaroons(they’re the coconut ones!) Those colourful French miniature crisp and chewy little dainty delights that everyone goes crazy about.
Scary right? Well scary for me! I’ve wanted to make them for a while now but I’ve been scared and I’ve always thought that they would be very difficult to make. They are quite tricky and I’ve never really made meringue yet too! So I wasn’t really off to a good start. It would be my first attempt of making a meringue and making Macarons.
I wouldn’t have had the confidence to make the macarons if it wasn’t for A cup for my cake I would like to give a huge appreciation for this website, it helped me with my fears towards the macarons with it’s helpful step by step images. I would suggest to have a look at it so you know what to expect towards each step.
I myself have always been fascinated by how the Macarons have that amazing textured base. I don’t know the science from it but it’s amazing and I think it makes the Macaron so unique. I was watching the oven closely to see the transformation from the flat shell to the amazing texture base, it was amazing :). My first batch I put in the oven was the test to see if it had formed and they did! I was so excited, it worked 🙂 :).
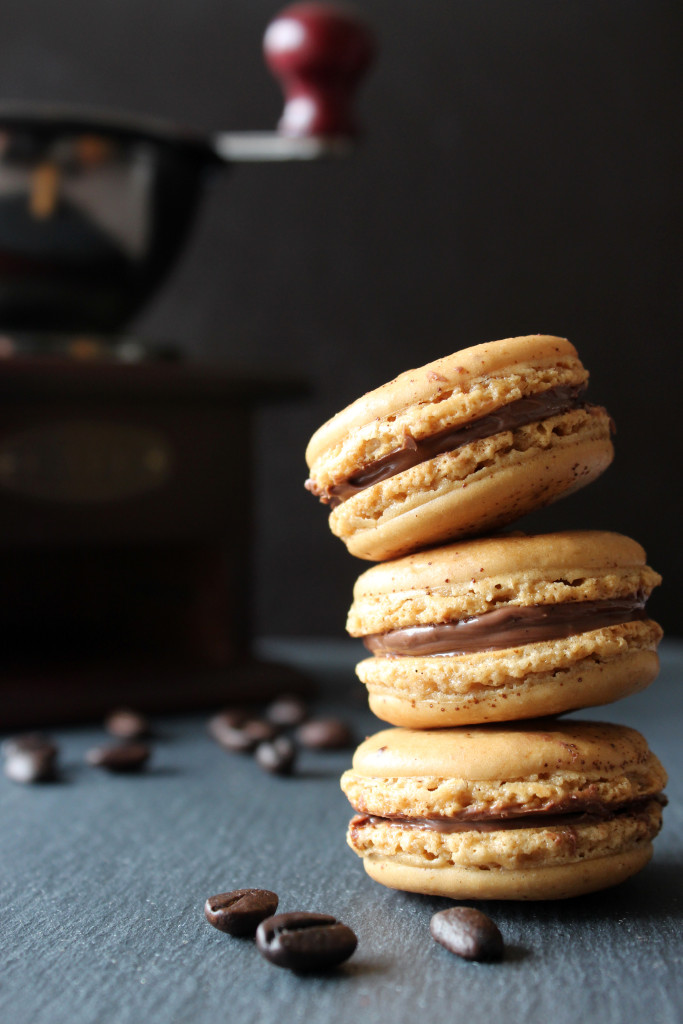
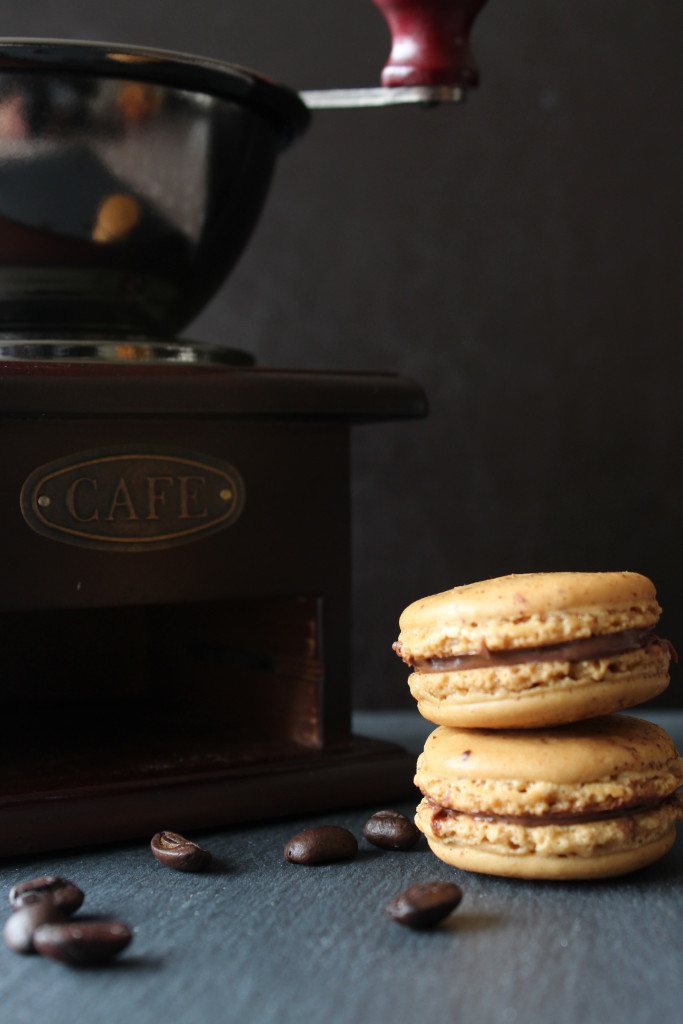
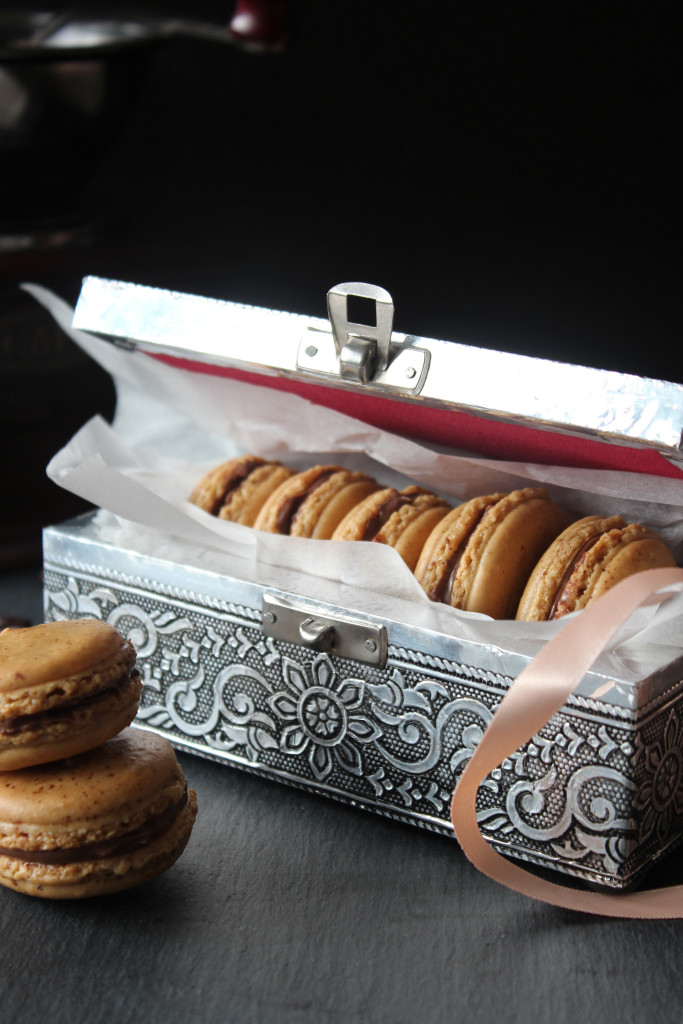
I was happy with my results of the Macarons, I’m sure if they are the up to a great French Pâtisseries standards but for a novice like me I was satisfied! I did think my first attempt would turn into a complete disaster. My fears in making them was over and if I can make them you can too, so do it!!! I am now more confident to make many more Macarons.
There were a few pointers that may help when you make your Macarons.
1. Measure the egg whites in your stand mixer and leave a day or two days before, this helps take out any moisture from the eggs as they need to be dried out.
2. Macaroons are a long process, I pre measured and sifted my almond flour the day before.
3. I also pre prepared my baking sheet with circles measured.
4. Whipping the egg whites is crucial over whipping and under whipping can cause different results to your Macarons so keep an eye out at this stage.
- 120g - ground almond
- 200g - icing sugar
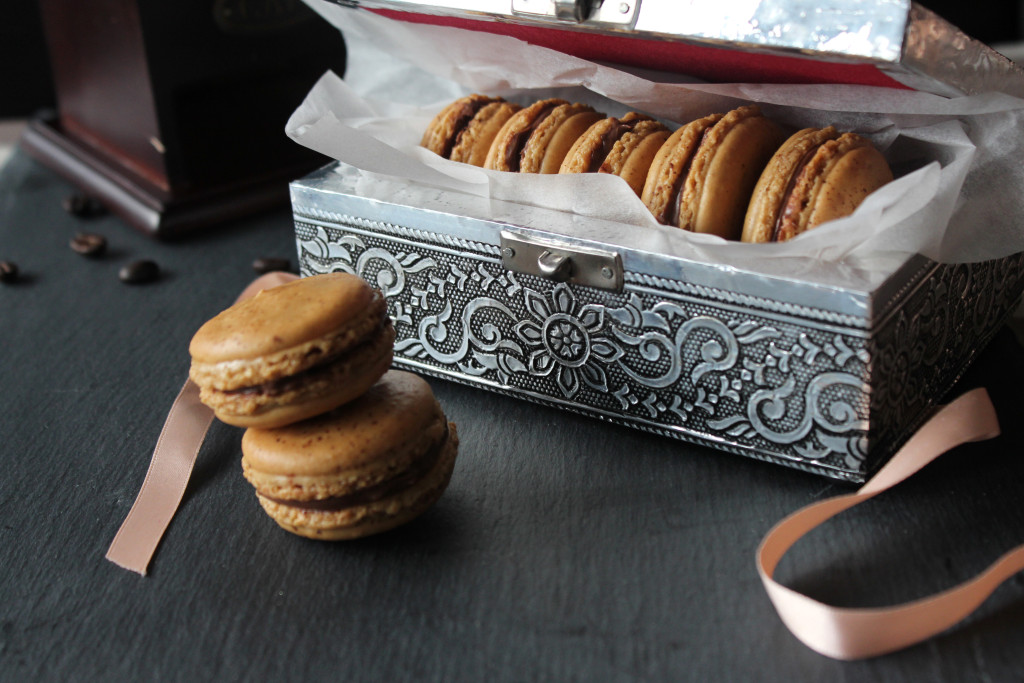
- 1 tlbs - instant espresso granules
- 100g - egg whites, room temperature (I used 3 medium eggs)
- 1/4 tsp - cream of tartar
- 30g - caster sugar
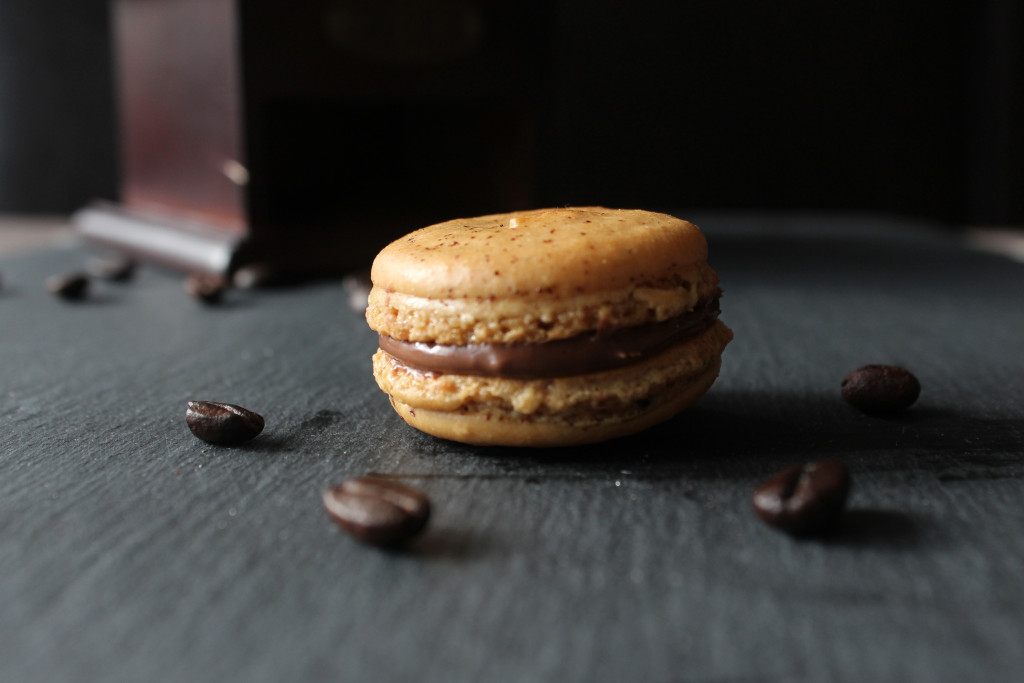
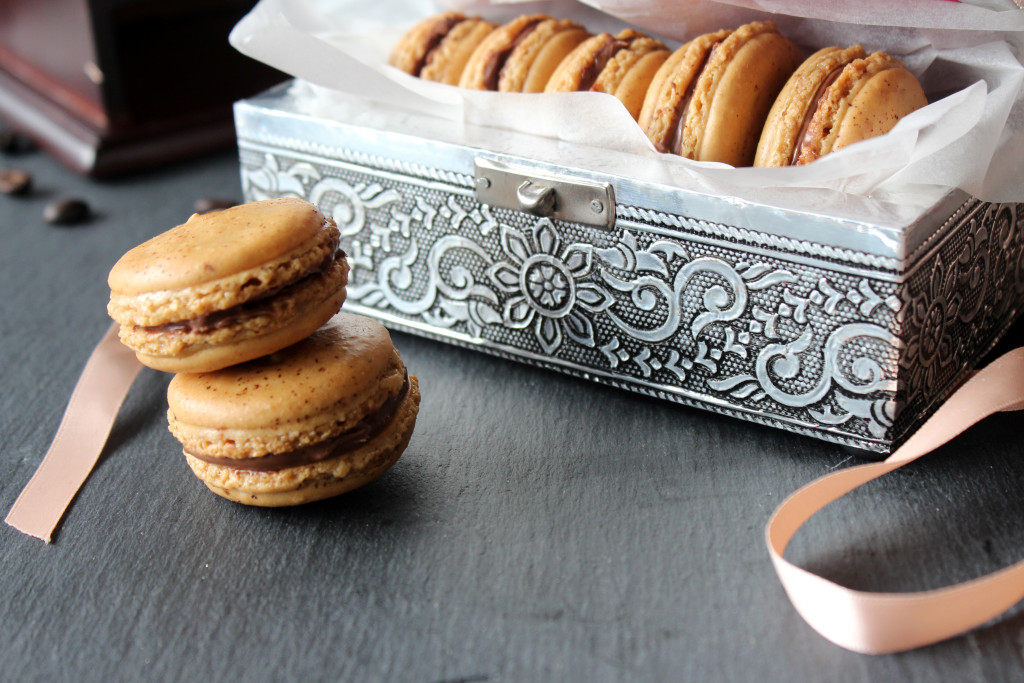
- Nutella spread
- 1. Measure each almond flour, icing sugar, and espresso powder separately and pulse into a coffee grinder until it resembles a fine powder then sift. Re-process any large bits that remain, and sift again. Discard any large bits that still remain. The ground almonds took the longest! and this was a long process.
- 2. Whip the egg whites, on medium speed until frothy, then add the cream of tartar whilst the machine is still on. When it starts to get a bit more stiffer slowly add the caster sugar (about a third at a time), while continuing to whip. Once all the sugar has been incorporated, add the vanilla extract and turn the speed up to high and whip until the meringue looks glossy and holds stiff peaks. Don't over whip, test it out by placing the bowl upside down.
- 3. Add almond flour mixture into the meringue third at a time. Fold together and (don't mix) until the batter falls from the spoon in one long, continuous ribbon, don't over fold.
- 4. Transfer to a piping bag fitted with a large round tip, and pipe rounds about 1 inch in diameter onto parchment-lined baking sheets. Slam the baking sheet on the counter to force out any large air bubbles, and allow to dry for 1 hour.
- 5. Preheat the oven to 150°C and bake for 10 minutes maybe more depending on your oven.
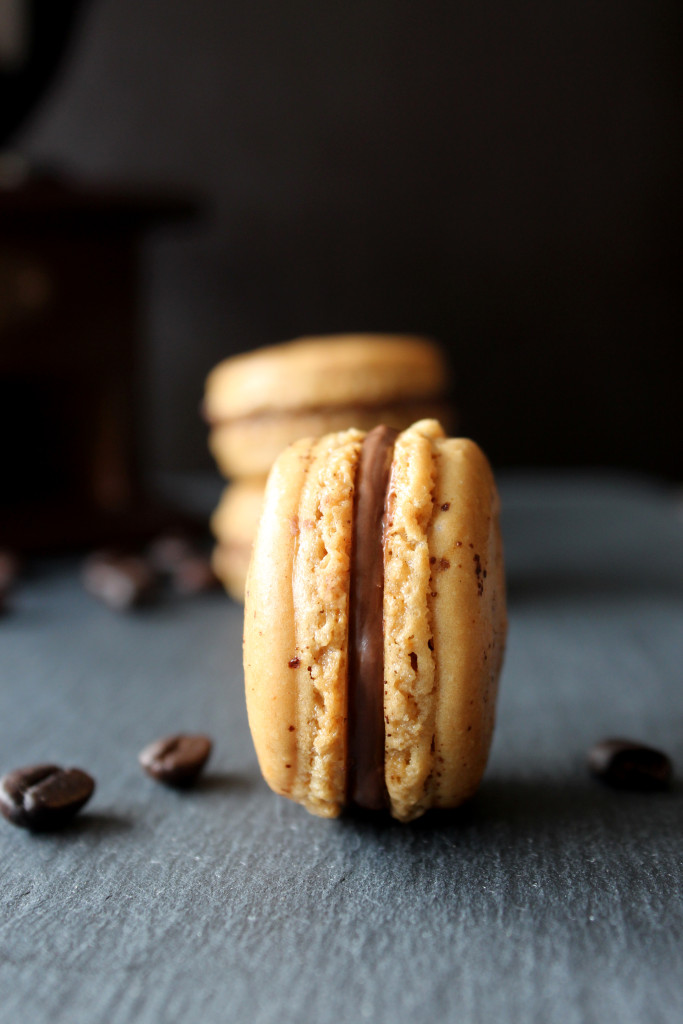
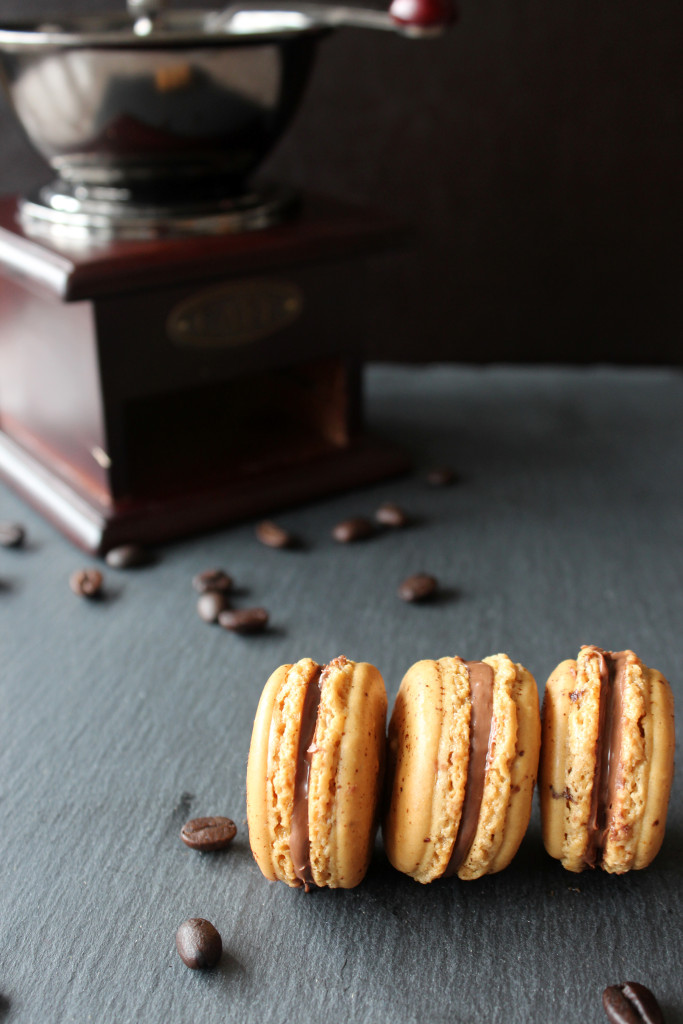
- 6. Cool completely on the baking sheet, then peel off and sandwich with Nutella.