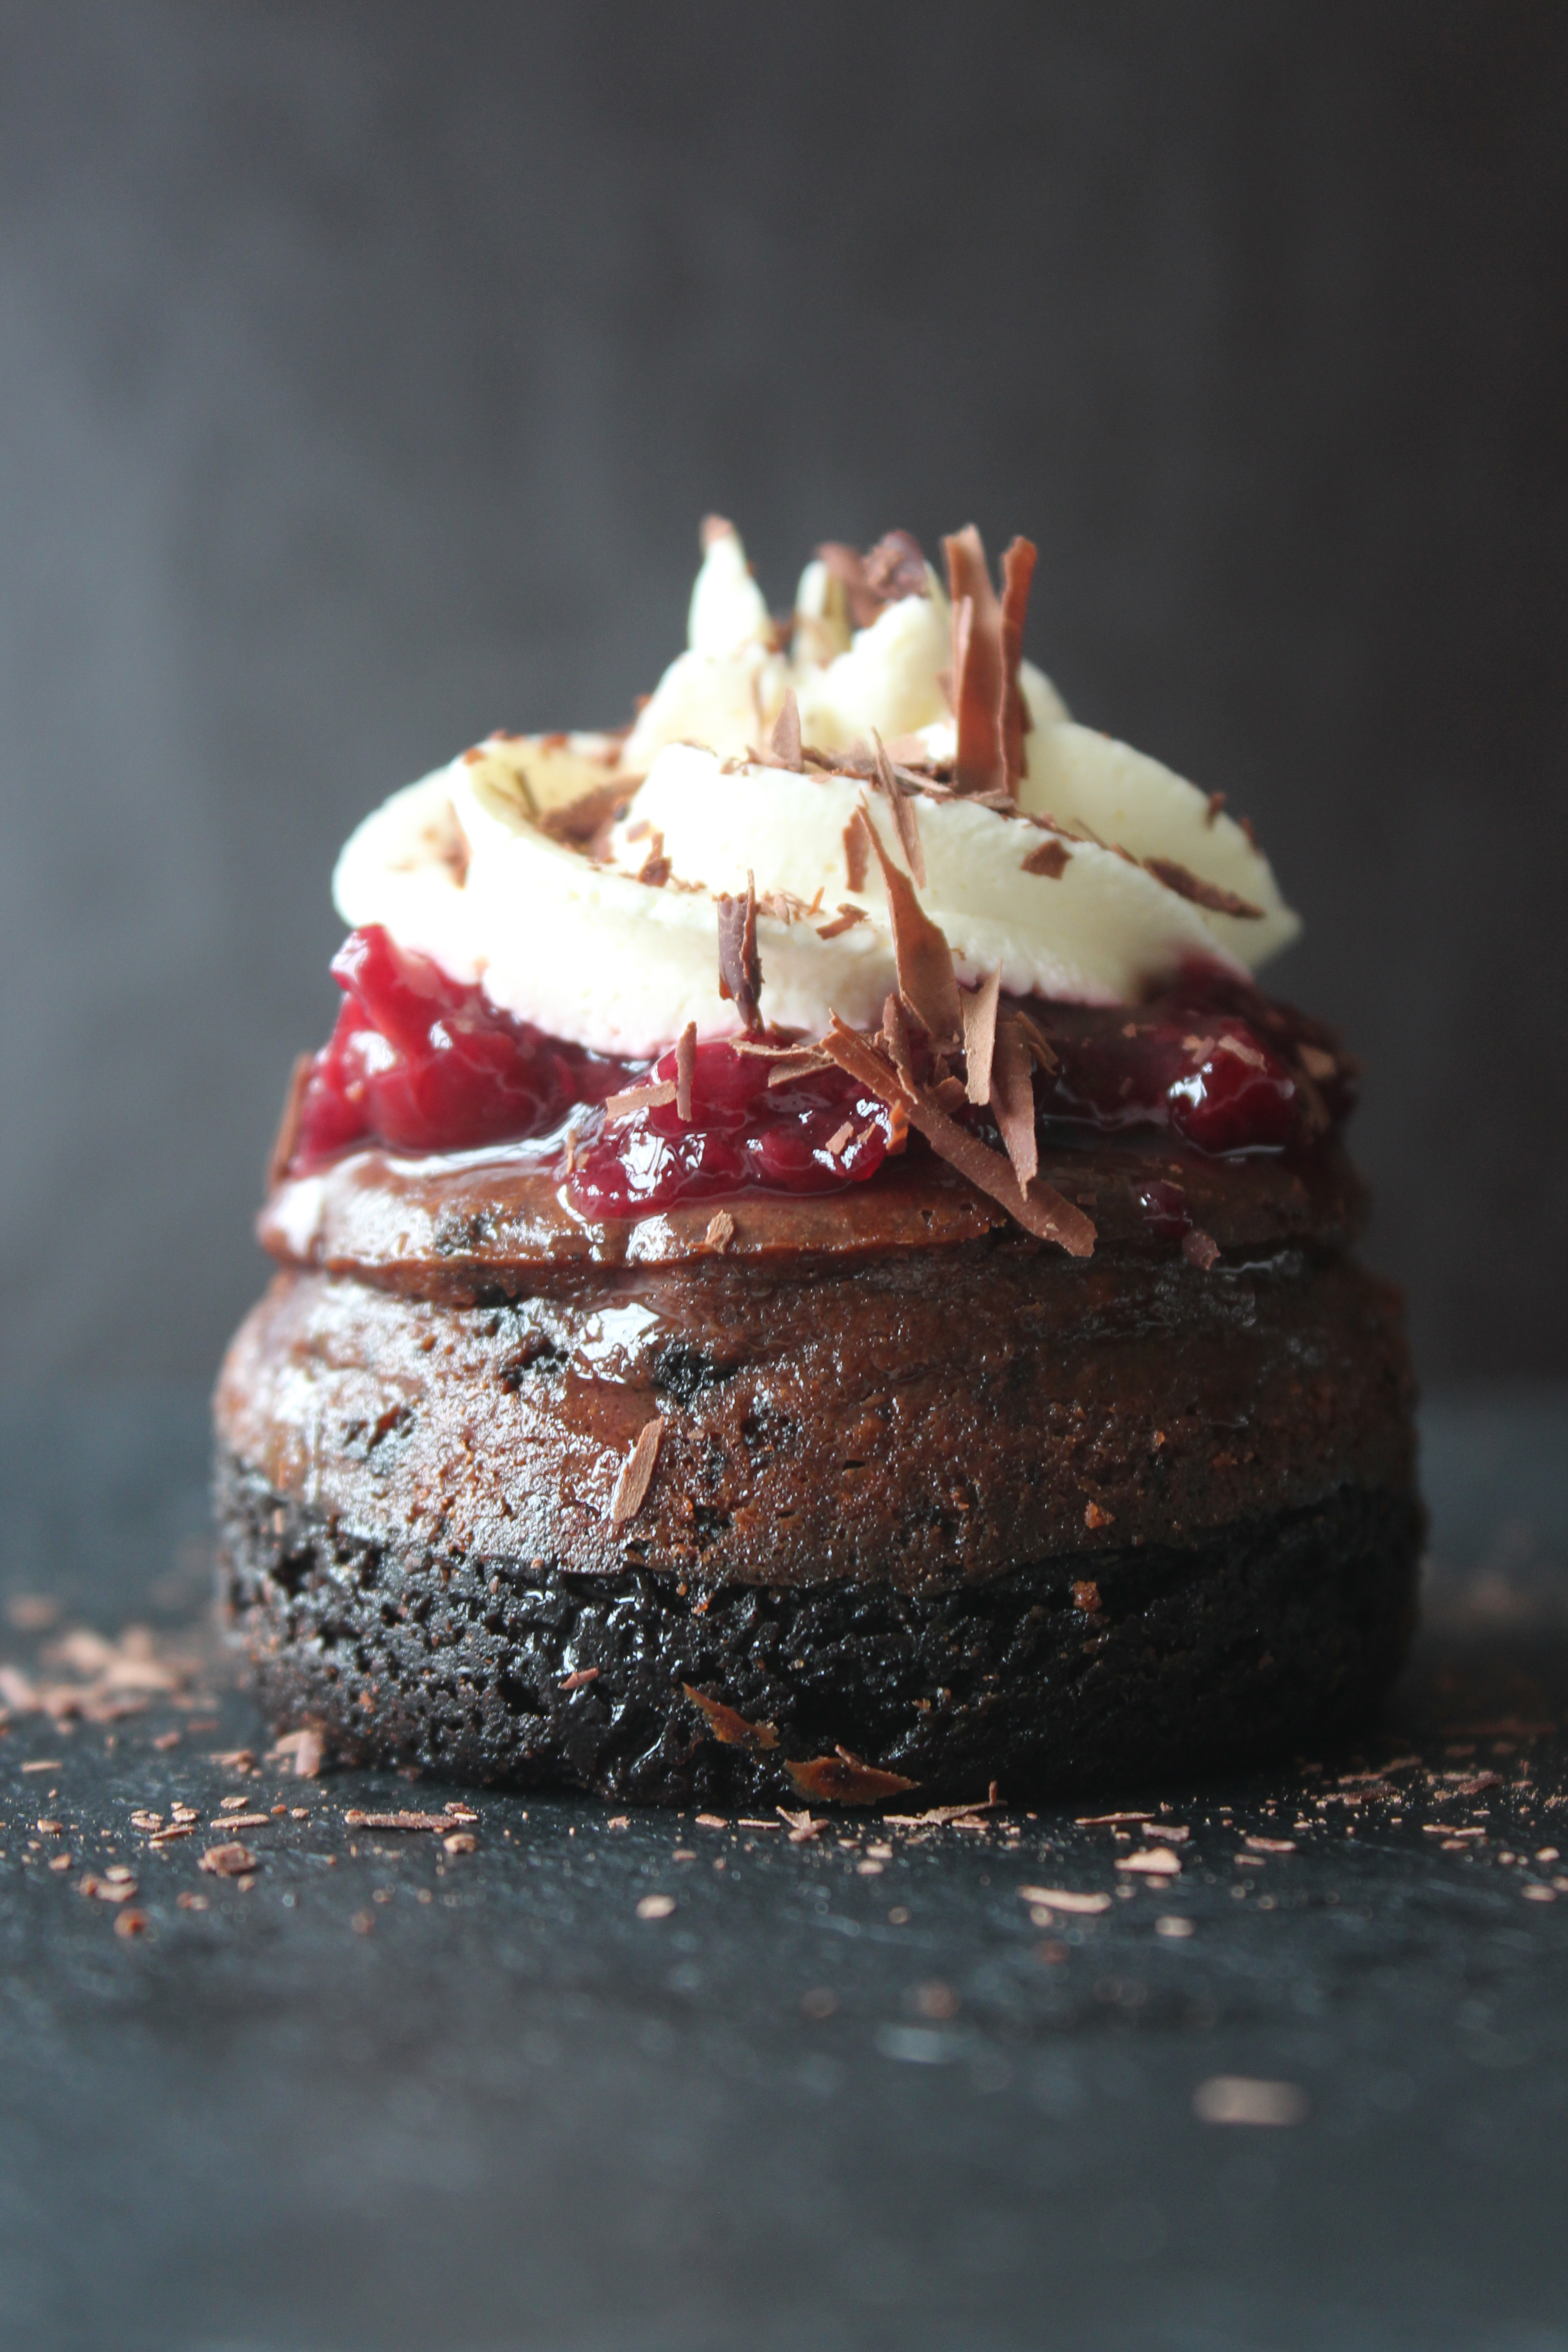
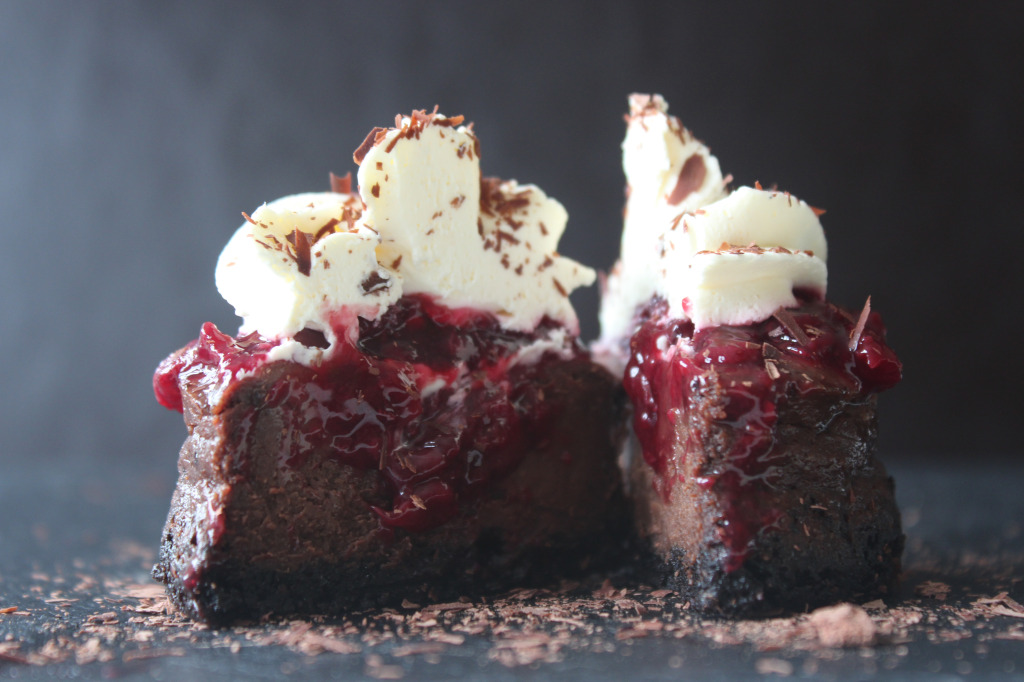
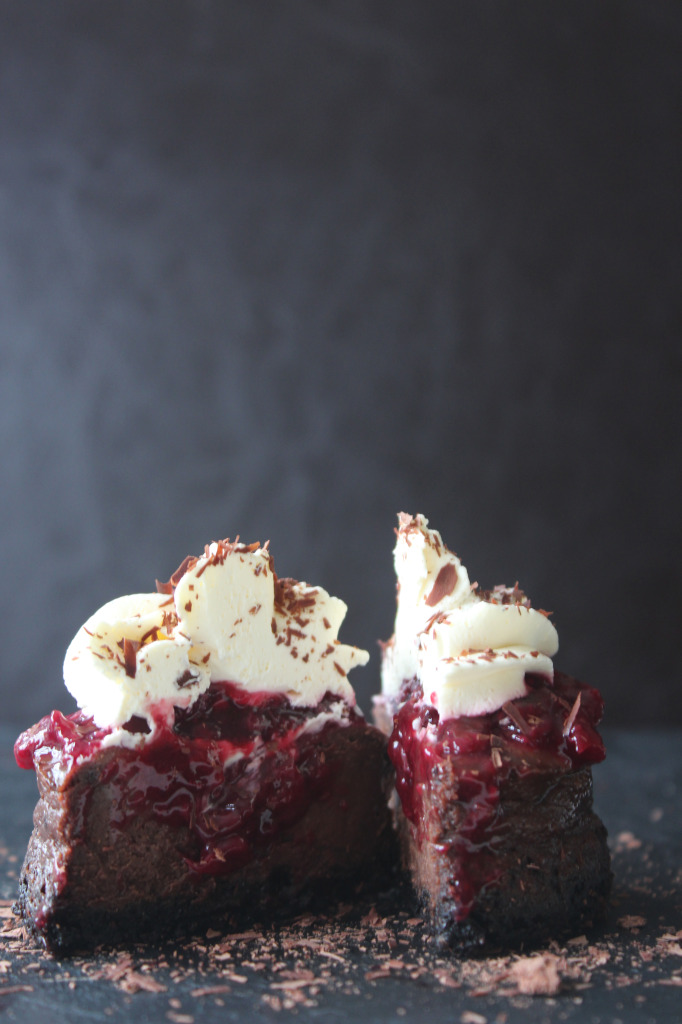
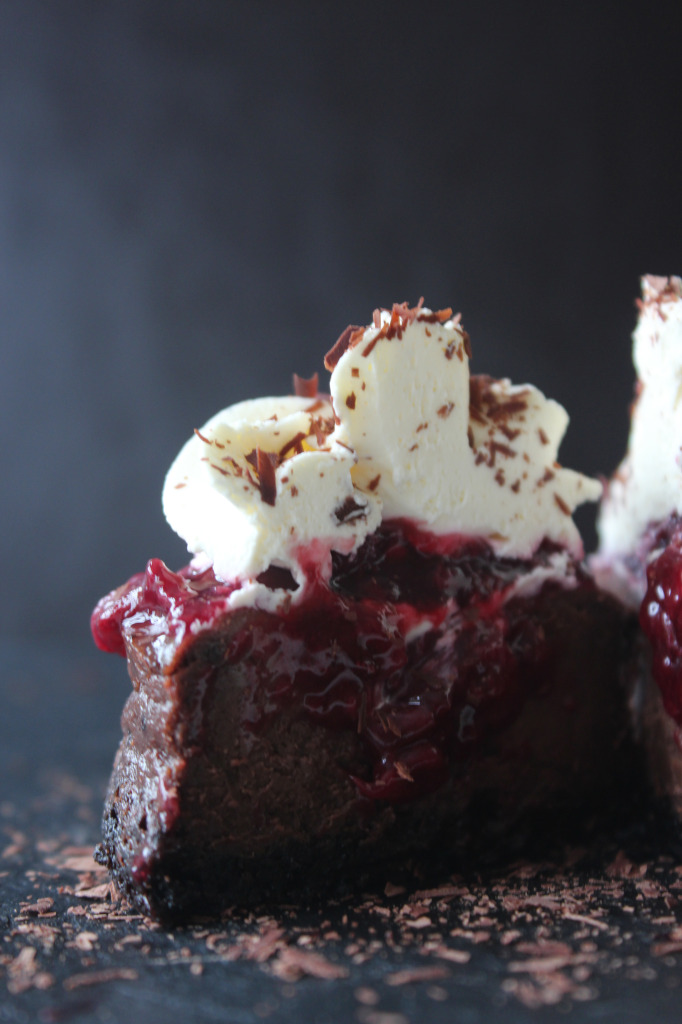
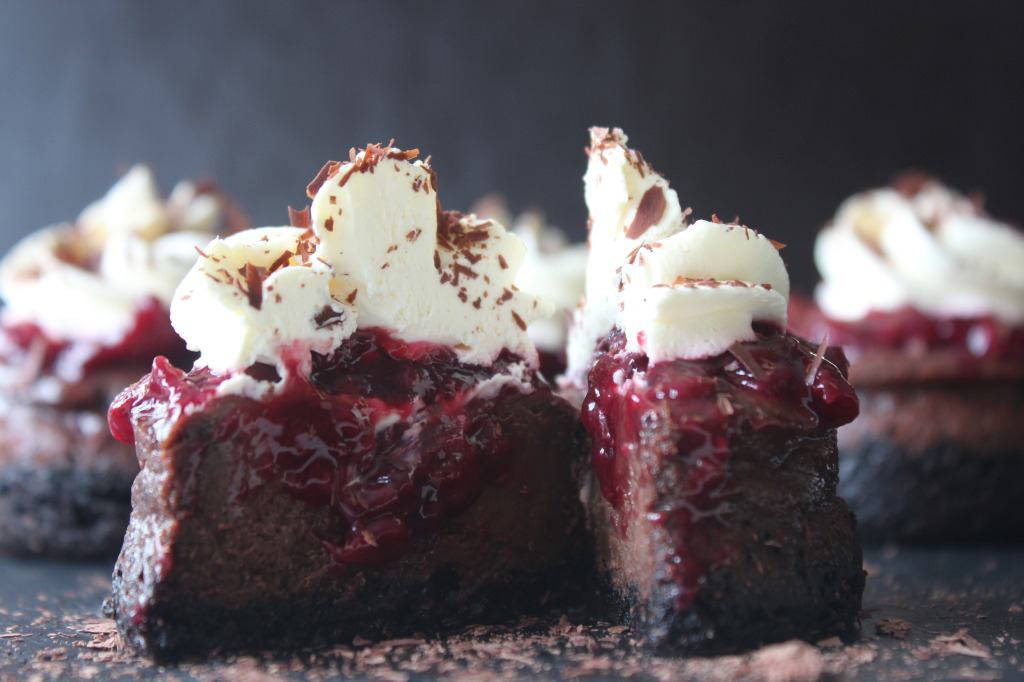
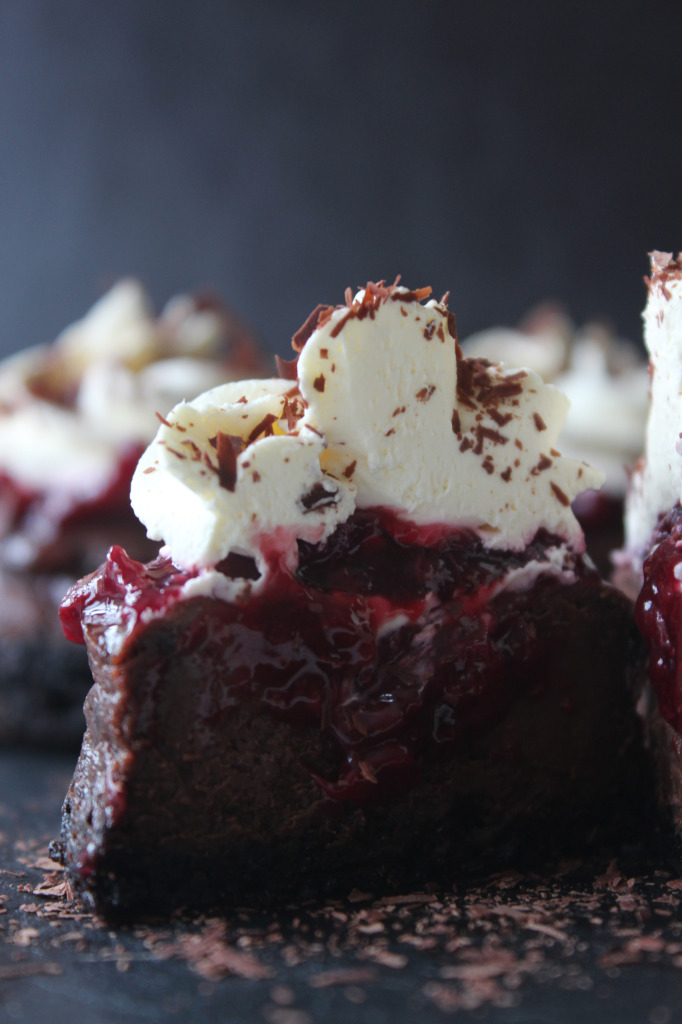
As for decadent, rich, awesome desserts go, this one is definitely on the top of my list. I thoroughly enjoyed eating this dessert, it was rich, fruity and tart and the vanilla cream helped compliment the flavours.
This dessert is great for a dinner parties and although it looks hard to create it was pretty simple, coming from someone who is more into baking then decorating.
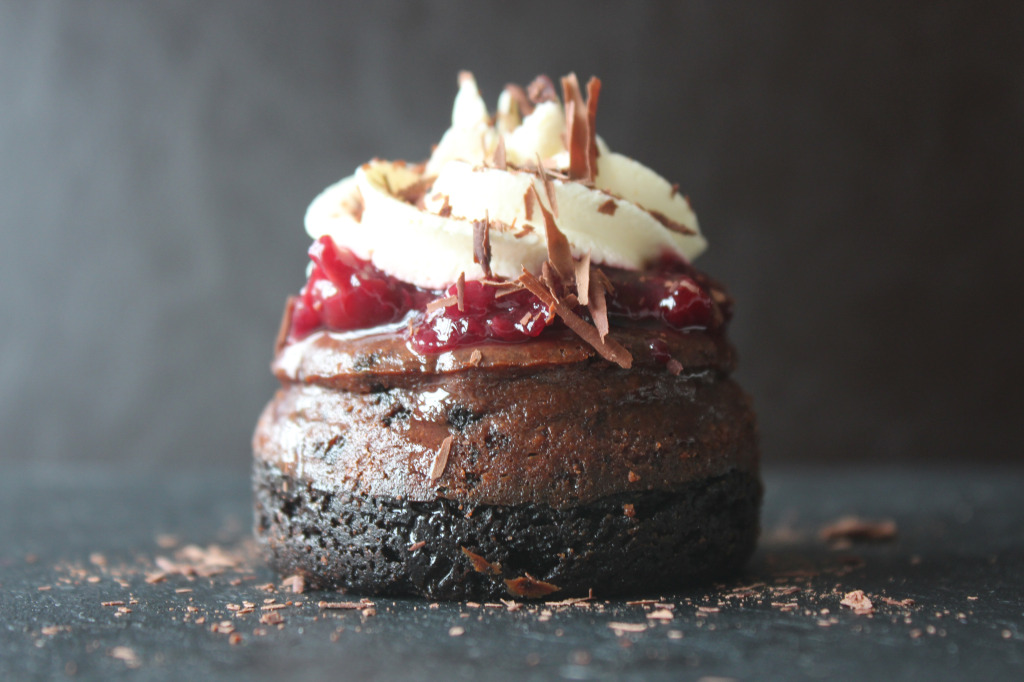
I actually made this for my brother’s birthday, he wanted dark chocolate cheesecake and from a few recipes he decided on the black forest version. I’m not too much of a fan of cherries sometimes but I think that’s the type of cherry, although I’m actually getting into them a lot more.
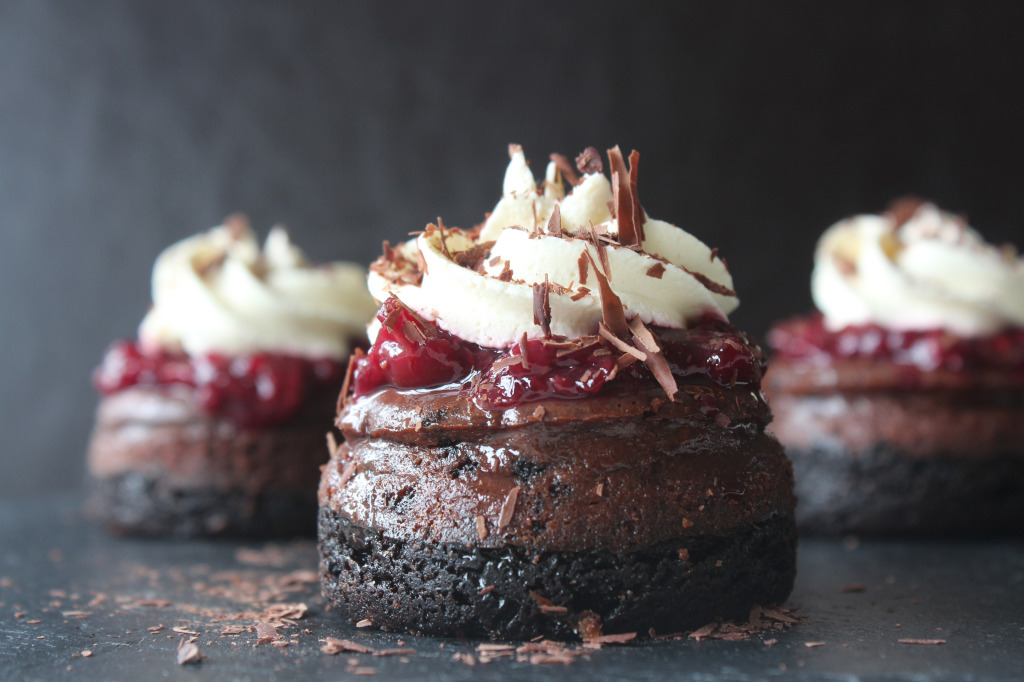
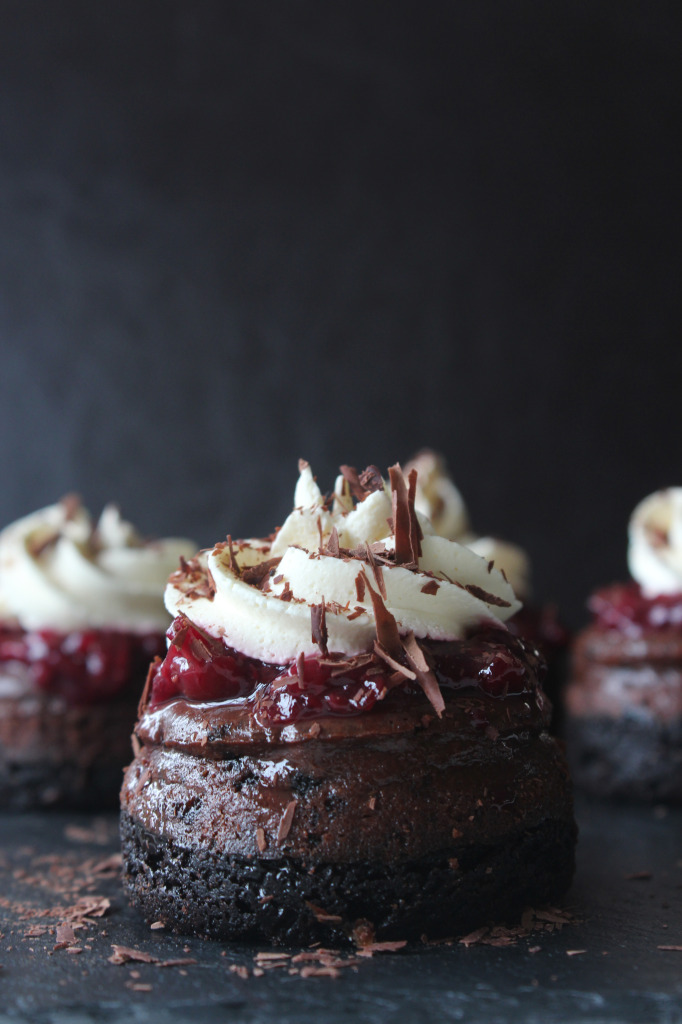
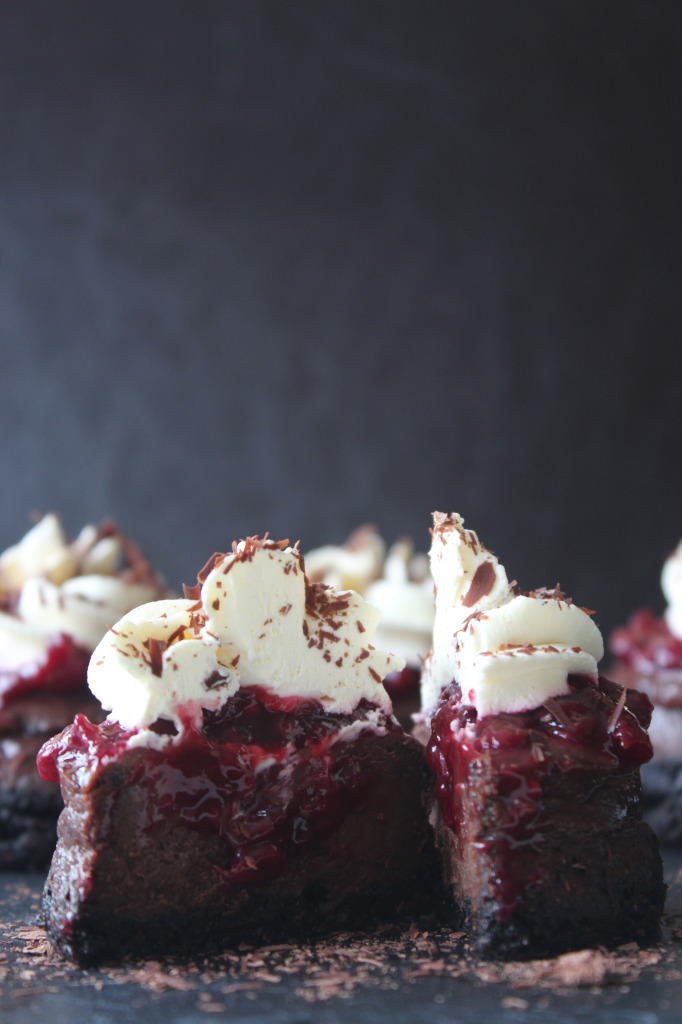
I was excited about trying this cheesecake. It’s a baked cheesecake and I usually make non-baked ones. I’ve made my fair share of making a baked cheesecake in the past but I feel they can go wrong, so I was excited but nervous at the same time. I decided to make mini versions instead of a large one, they look much more professional at this size, everyone has their individual portion to make them feel special. They also look so cute too.
The cheesecake did work out quite well and it wasn’t too hard to make, I was quite pleased with the result and would make them again. My brother was more than pleased which makes it so much rewarding.

- 12 - Oreo cookies (whole)
- 1/2 tbsp - caster sugar
- 30g - unsalted butter, melted
- 5 ounces - chocolate, finely chopped
- 454g - cream cheese, at room temperature
- 145g - caster sugar
- 1/8 cup - cocoa powder
- 2 - eggs at room temperature (I used medium)
- 1/8 cup - caster sugar
- 1 tbsp - lemon juice
- 1 Jar - Cherries
- 1 tsp - cornflour
- 150ml - double cream
- caster sugar to taste
- 1 tsp - vanilla extract
- 1. Preheat oven to 175°C. Butter a 9-inch round springform pan or a mini Victoria sponge tin set aside.
- 2. Place the chocolate in a ban marie to melt and stir occasionally once melted, leave to cool.
- 3. Whilst that is melting, make the base. Either process the cookies and sugar in a food processor until ground into fine crumbs or bash in a bag. Then add the melted butter. Press the crumb mixture evenly into the bottom of the prepared pan. Bake until the crust is set, about 8 minutes. Set on a cooling rack while the filling is prepared.
- 4. Place the cream cheese, sugar and cocoa powder in a stand mixer bowl beat together until light and fluffy, about 3 minutes, scraping down the sides of the bowl as needed. Add the eggs one at a time, beating well after each addition and scraping down the sides of the bowl before adding another. Add the cooled, melted chocolate and beat until just combined. Using a rubber spatula to give it a final mix (the batter will be on the thick side) and pour the filling over the crust, smoothing the top into an even layer.
- 5. Bake until the center just barely wiggles when moved and the top looks dry, about 20-30 minutes. Cool for 5 minutes, then run a thin knife between the cake and the sides of the pan to loosen. Transfer the cheesecake to the refrigerator and chill, uncovered, overnight.
- 6. For the Cherry Topping: In a medium saucepan combine the cherries (and any remaining juice), sugar and salt over medium heat and cook, stirring occasionally, until it reaches a boil, about 5 to 10 minutes. In a small bowl, whisk together the reserved cherry juice and cornflour, and add it to the cherry mixture. Stir constantly until thickened, about 1 minute. Remove from the heat and stir in the lemon juice. Allow the mixture to cool to room temperature, then transfer to an airtight container and chill until ready to use, at least 1 hour.
- 7. For the Whipped Cream: Make on the day you are serving. With a mixer at medium speed, beat the double cream, icing sugar and vanilla extract until until it forms stiff peaks.
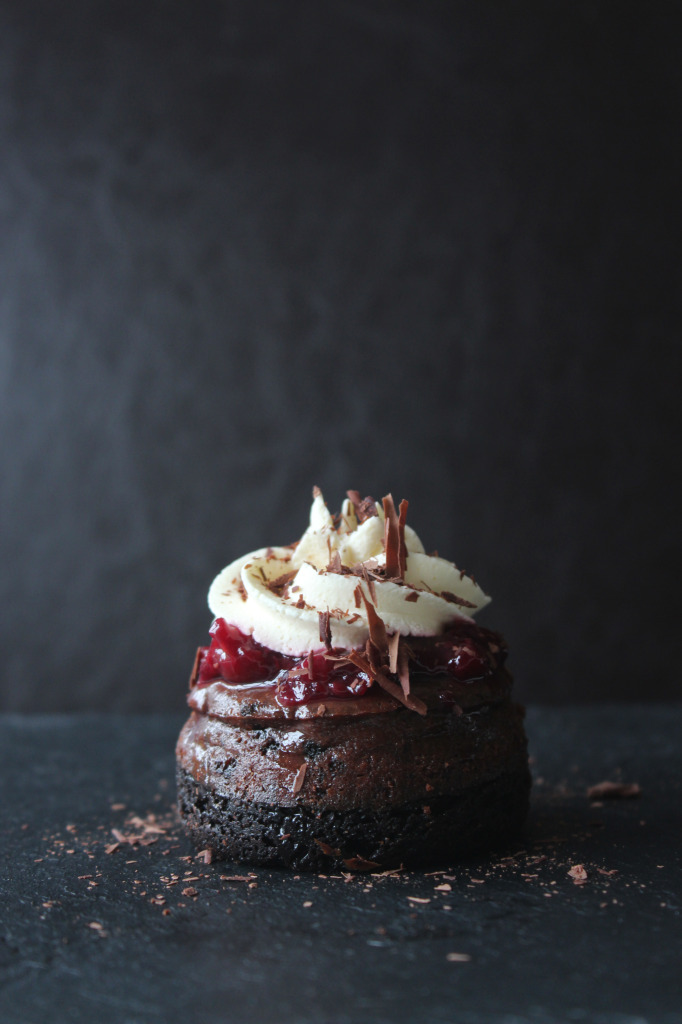
- 8. To finish off the cheesecake, take out the cheesecakes out of the fridge. Add a tablespoon of the cherry filling on top of each cheesecake. Using a pastry bag pipe with whipped cream. Garnish with chocolate shavings, optional.
- I halved the cheesecake original recipe and used mini victoria sponge tins instead of an 9" tin. There did end up being more cheesecake mixture which I baked in but didn't have enough base. If making the mini cheesecakes I would suggest making an extra 1/4 cup of the base mixture.
- It's a good idea to take the cream cheese out the fridge to come to room temperature.